
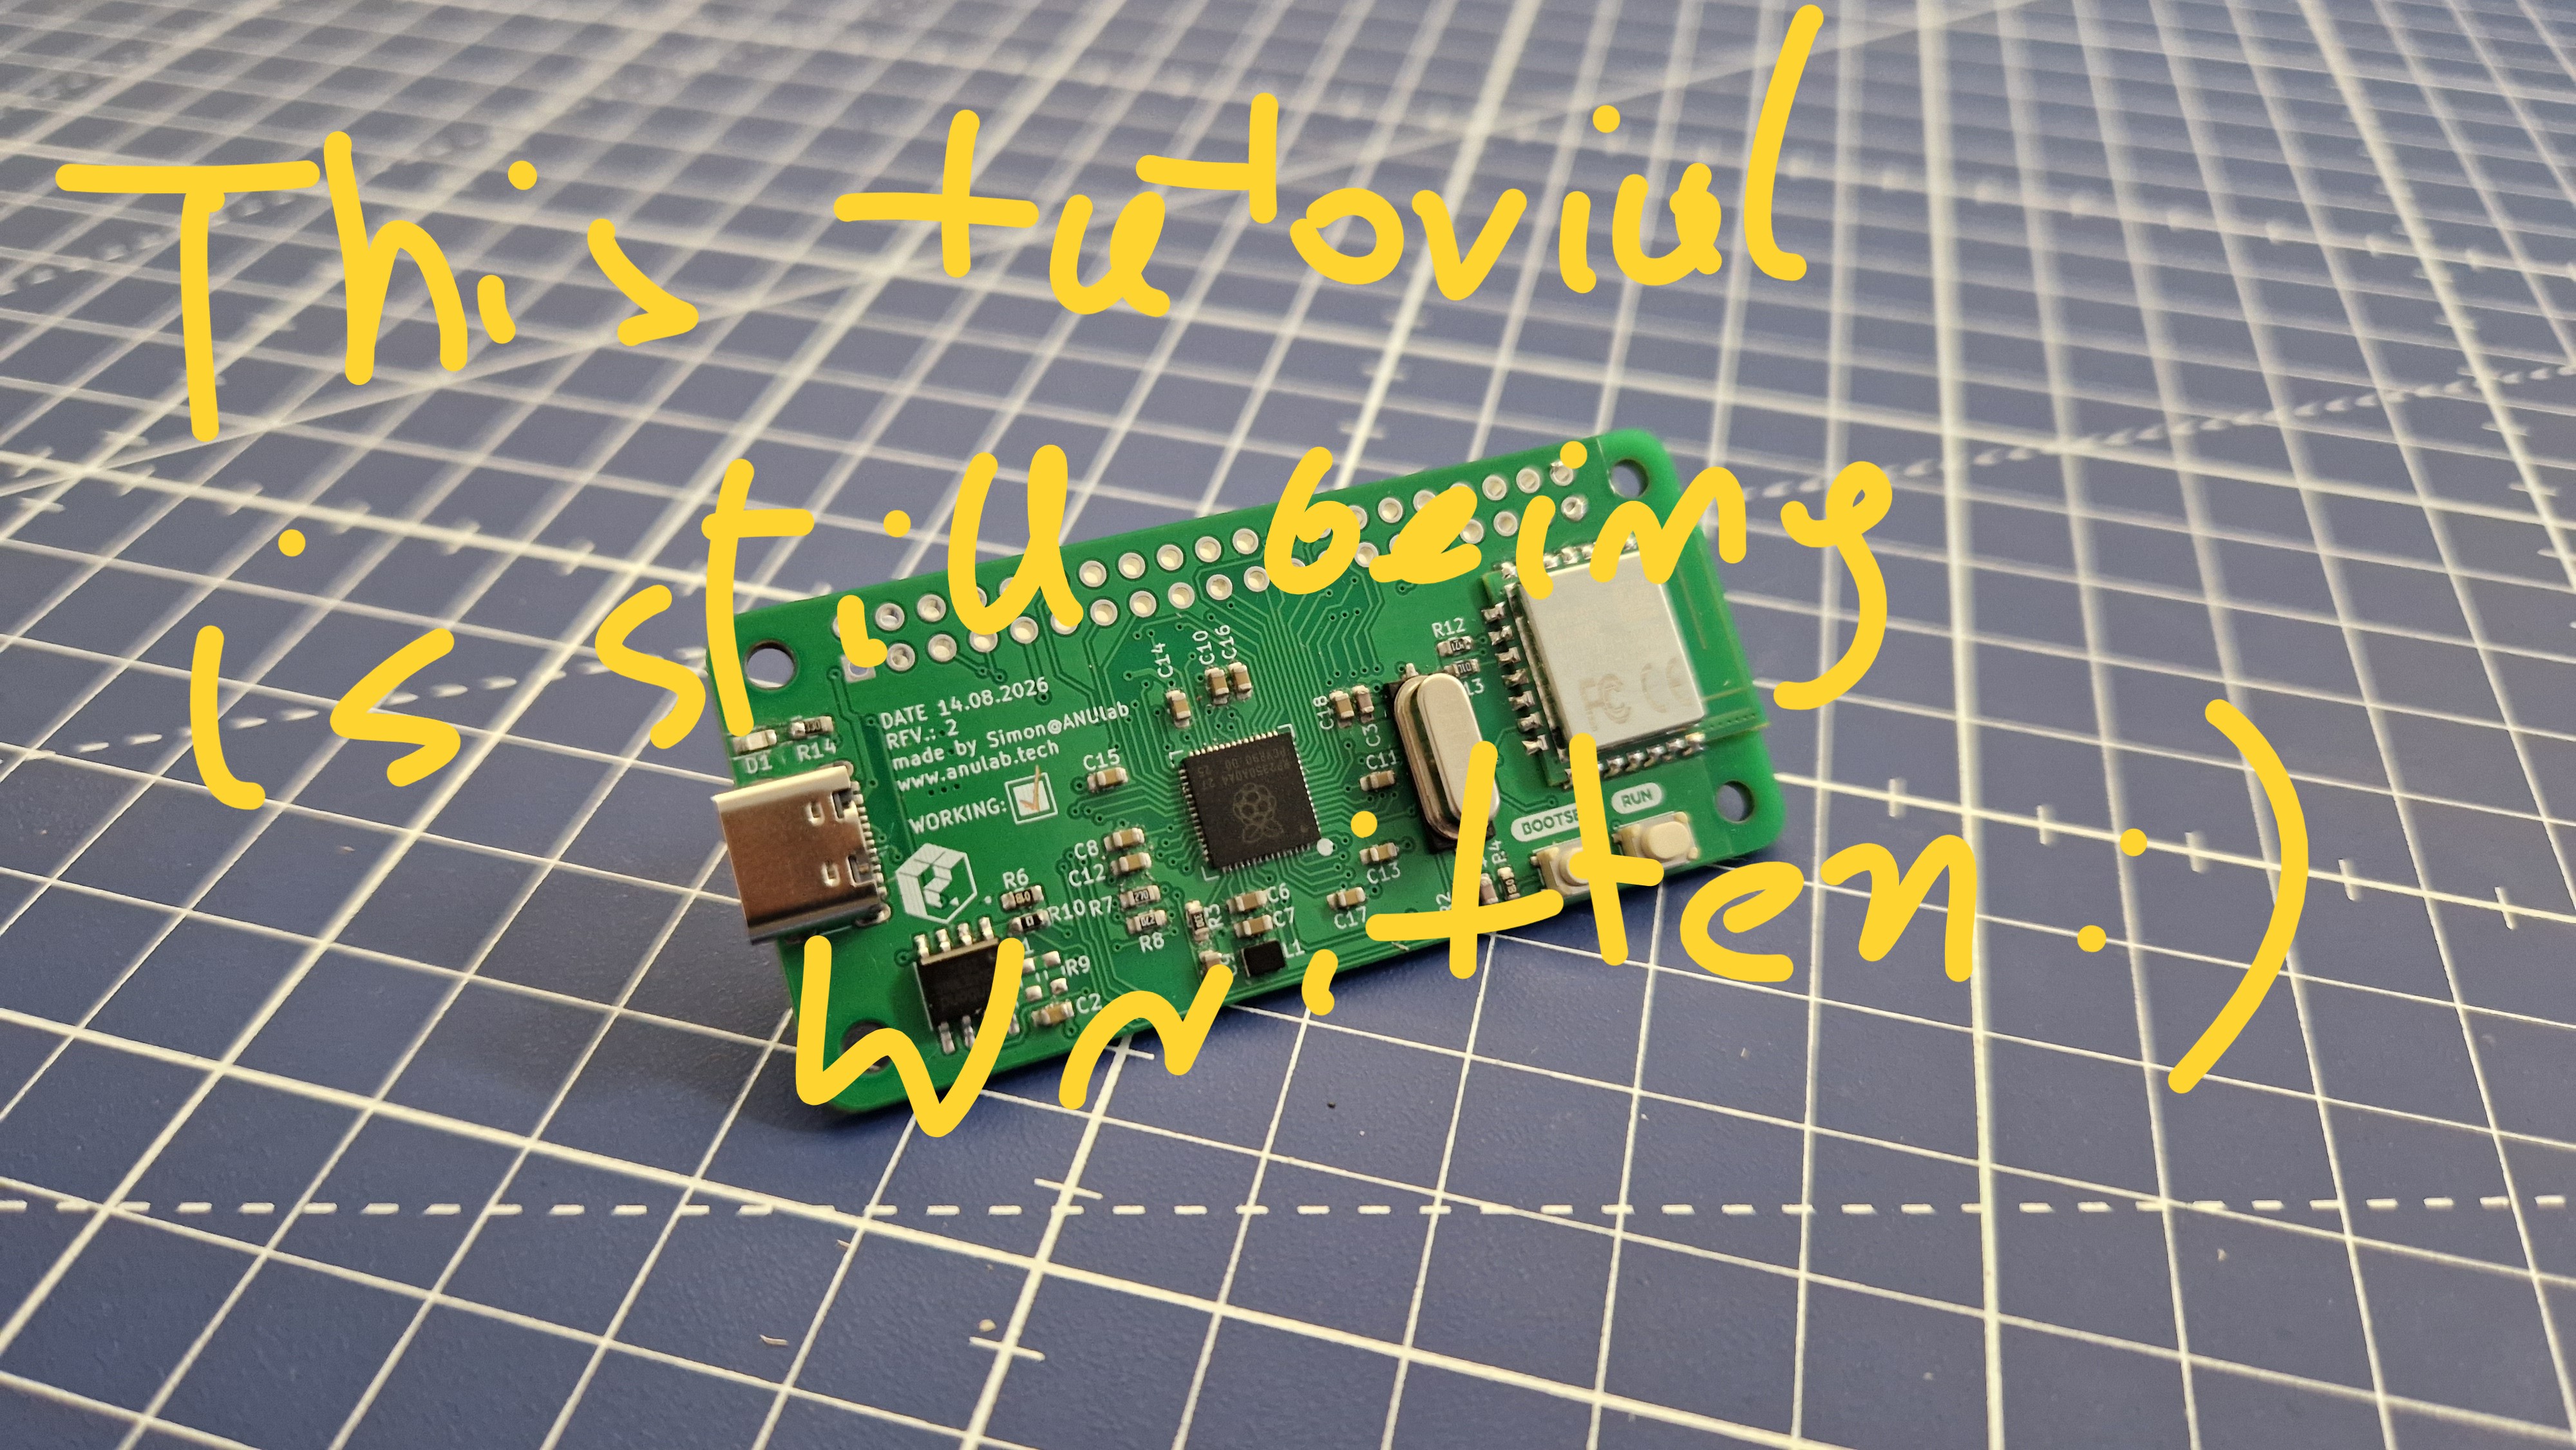
In this post I will try to explain how to create your own Raspberry Pi Pico (Pi Pico 2 or Pico 2W to be precise :) ) and hopefully help you with your next big project.
Important links
Below you can find links to a few important documentations. First one is a doc released by the Rasberry Pi Fundation, it has all the technical details explained BARDZO PRZYSTĘPNIE about using the RP235** chip family. The second link leeds straight to the kicad repository with the design for boards made in the formentioned documentation. And the last thing is a link to my own pi pico with a schematic and details on creating a Pico W (the version with internet and bluetooth capabilities)
Designing the board
As you read in my pevious section, we already have all the desing files for Raspberry Pi's own minimal desing for Pi Pico 2. That's why I will only focus on explaining parts that I had problem with. Later I will also discus the process of soldering the board.
- First, download and open Pi's minimal design board. It's best to, at first, modify what we already have and know is working.